This tie dye tutorial started out as a simple table skirt to go around a table that we are getting ready to take to an event for iLoveToCreate. But, as you probably have heard me say many times.... if it's worth doing, it's worth doing abundantly! A long time ago... longer than I want to admit... I sold Home Interiors which was founded by Mary Crowley, and this was one of the things she use to say to all of us decorators, and it stuck with me to this day. I love doing things over the top.
So, here's a pic of how it turned out.
I love it so much that I want to wrap myself up in it!
Step 1: Measure
My first step was to do the measurements of the table and jot it down.
Then I got busy and started cutting and sewing.
I used white 100% cotton muslin, so it would dye beautifully.
Step 2: Sew
It's BIG! According to my measurements, to wrap all the way around the table, it's 4 feet (front of table) plus 4 feet (back of table) plus 2 feet (one end of table) plus another 2 feet (other end of table) for a grand length of 144 inches long.
So, 4 yards long x 32 inches wide for the base, after hemming all the edges. I put a 3-inch hem in the bottom so that it would drape nicely.
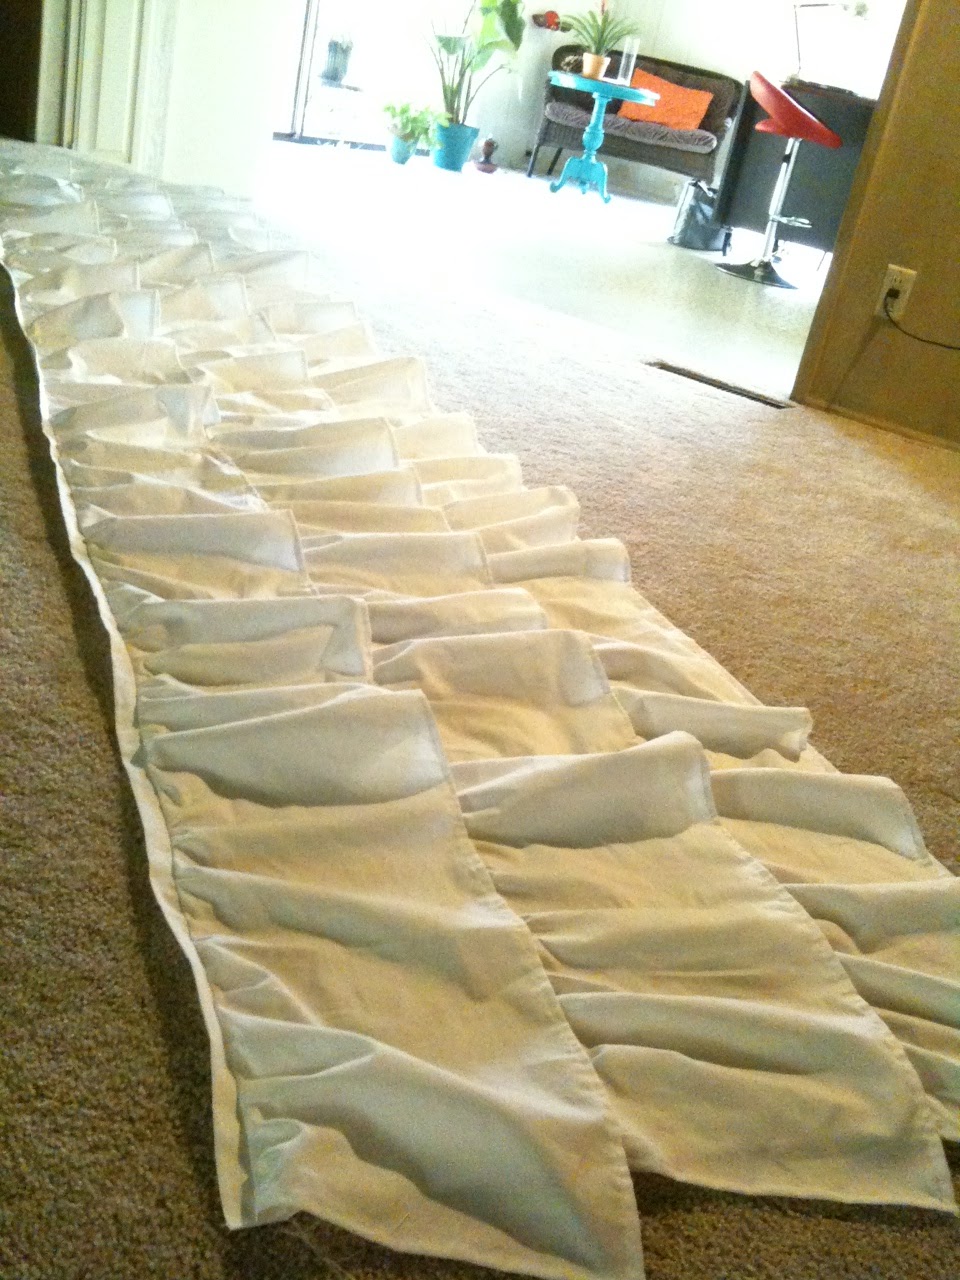
Next came the ruffles. I wanted 3 ruffles, overlapping each other 2 inches. So, I cut them 12 inches wide. For just enough fullness, I made them 1.5 times longer than the length of the skirt, so each one is 12 x 216 inches. I didn't actually cut anything; I ripped it since the muslin is a straight grain. Perfect!
I hemmed the ends and bottom of each ruffle, then sewed a long stitch at the top of each one for gathers, pinned them onto the base skirt, pulled the threads to gather the top of each ruffle, and sewed them on.
Step 3: Dye
Now I was ready for the dye....the FUN part!
The fabric needed to be wet to absorb the dye, so I tossed it in the washer for a quick rinse and spin.
I already had squirt bottles from other dye kits, so I chose the new
Tulip® One-Step Dye™ Refills that have 3 packs of dye in jelly-like packages that I simply dropped in the bottles and added water. Be sure to shake them up until the jelly packs dissolve completely.
I used one bottle with 2 dye packs for each line of dye. As you can see, I did 4 lines of dye across the skirt. With that much fabric, I knew it needed lots of dye.
Step 4: Wrap & Wait 4 hours
I wrapped the whole thing in a painter's drop cloth that I already had, and left it for 4 hours outside in the Fresno sun. I admit, I kept peeking at it to see how pretty it was.
 Step 5: Rinse & Dry
The last step was to rinse it out in the washer and dry it.
And of course, it needed the wrinkles out, so hubby Scott hung it on c-stands which made it uber-easy to steam.
Now, I'm all ready to make cool things on my decked-out table.


