Showing posts with label tassel tool. Show all posts

Friday, November 26, 2010

Pompom Jacket

It's time to think about Holiday Gifts and Events, 
and here's an idea that any girlie girl will love to give or receive.  

I made tons of pompoms, tassels and rosettes with the PattieWack Pompom Tool and the PattieWack Tassel Tool, then I sewed them to this adorable crochet jacket.  

The leaves are cut from felt and I added wooden beads to add more texture and interest for an adorable addition to your fave jeans or a little chocolate skirt for any special occasion.


Supplies:


Tools needed: 
Large upholstery needle


Supplies needed:
Aunt Lydia’s Fashion Crochet Thread, Size 3, 0775 Warm Rose

Red Heart Easy Tweed, 6674 Raspberry

Red Heart Super Saver 0966 Cherry Chip

7 – 3/4” Wooden Beads

12 – 2” Brown Felt Leaves, embroidered with Warm Rose


Warm Rose Rosette Steps:

  1. Wind both warm rose thread around the tassel tool on the 1-1/4”” step, 30 times.
  2. Bind the top of the rosette with 6” of yarn.
  3. Cut to loops and pull the rosette off the tool.
  4. Spread the cut loops around to create a flat rosette. 
  5. Tie a bead to the center of the rosette with additional yarn.
  6. Repeat steps to create 3 rosettes.  Lay aside.


1-1/2” Raspberry Tweed Pompoms:

Make 5 Lancelot pompoms, on the 1-1/2” step of the pompom tool, winding 30 times and tying with 6” of yarn.  Lay aside.


1” Raspberry Tweed Pompoms:

Make 10 Raspberry pompoms, on the 1” step of the pompom tool, winding 20 times and tying with 6” of yarn.  Lay aside.


1-1/2” Cherry Chip Pompoms:

Make 10 Cherry Chip pompoms, on the 1-1/2” step of the pompom tool, winding 40 times and tying with 6” of yarn.  Lay aside.


1-3/4” Raspberry Tweed Tassels:

Make 2 tassels, on the 1-3/4” step of the tassel tool, winding 15 times and tying the tops with 10” of yarn. Tie the tassel to the ends of the ties on the jacket.


Final Steps:

  1. Arrange all of the pompoms, leaves, and rosettes in the desired place on the front of jacket.  (Use photo for suggested placement.)  Pin into place.

Sew all of the pieces to the garment with an upholstery needle to complete.

Monday, October 18, 2010

Cupcake Cover - DIY Recycle Craft

Halloween Cupcake Dome - I made this Halloween Cupcake Dome to display my delicious carrot cake cupcake with cream cheese icing and a spooky spider, while I dream about how yummy it's going to taste.  I mean, don't you think it's perfect for keeping it fresh and pretty at the same time?
 It all started with a 2-liter orange soda bottle with an orange lid.  
When I went to the convenience store to pick it up, it was the only one in the whole store.  
I purposefully wanted that orange top on my cupcake dome!
 The first thing was to get the label off the side, and Scott jumped 
in with some citrus adhesive remover and saved the bottle from my idea to scratch it off.  
 Worked like a charm...
 I grabbed my heat tool and melted two holes in the top
so I could wire buttons and beads to it.
 Then I put a rubberband around it to establish a cutting line.  
I wanted it just the right height for my cupcake.
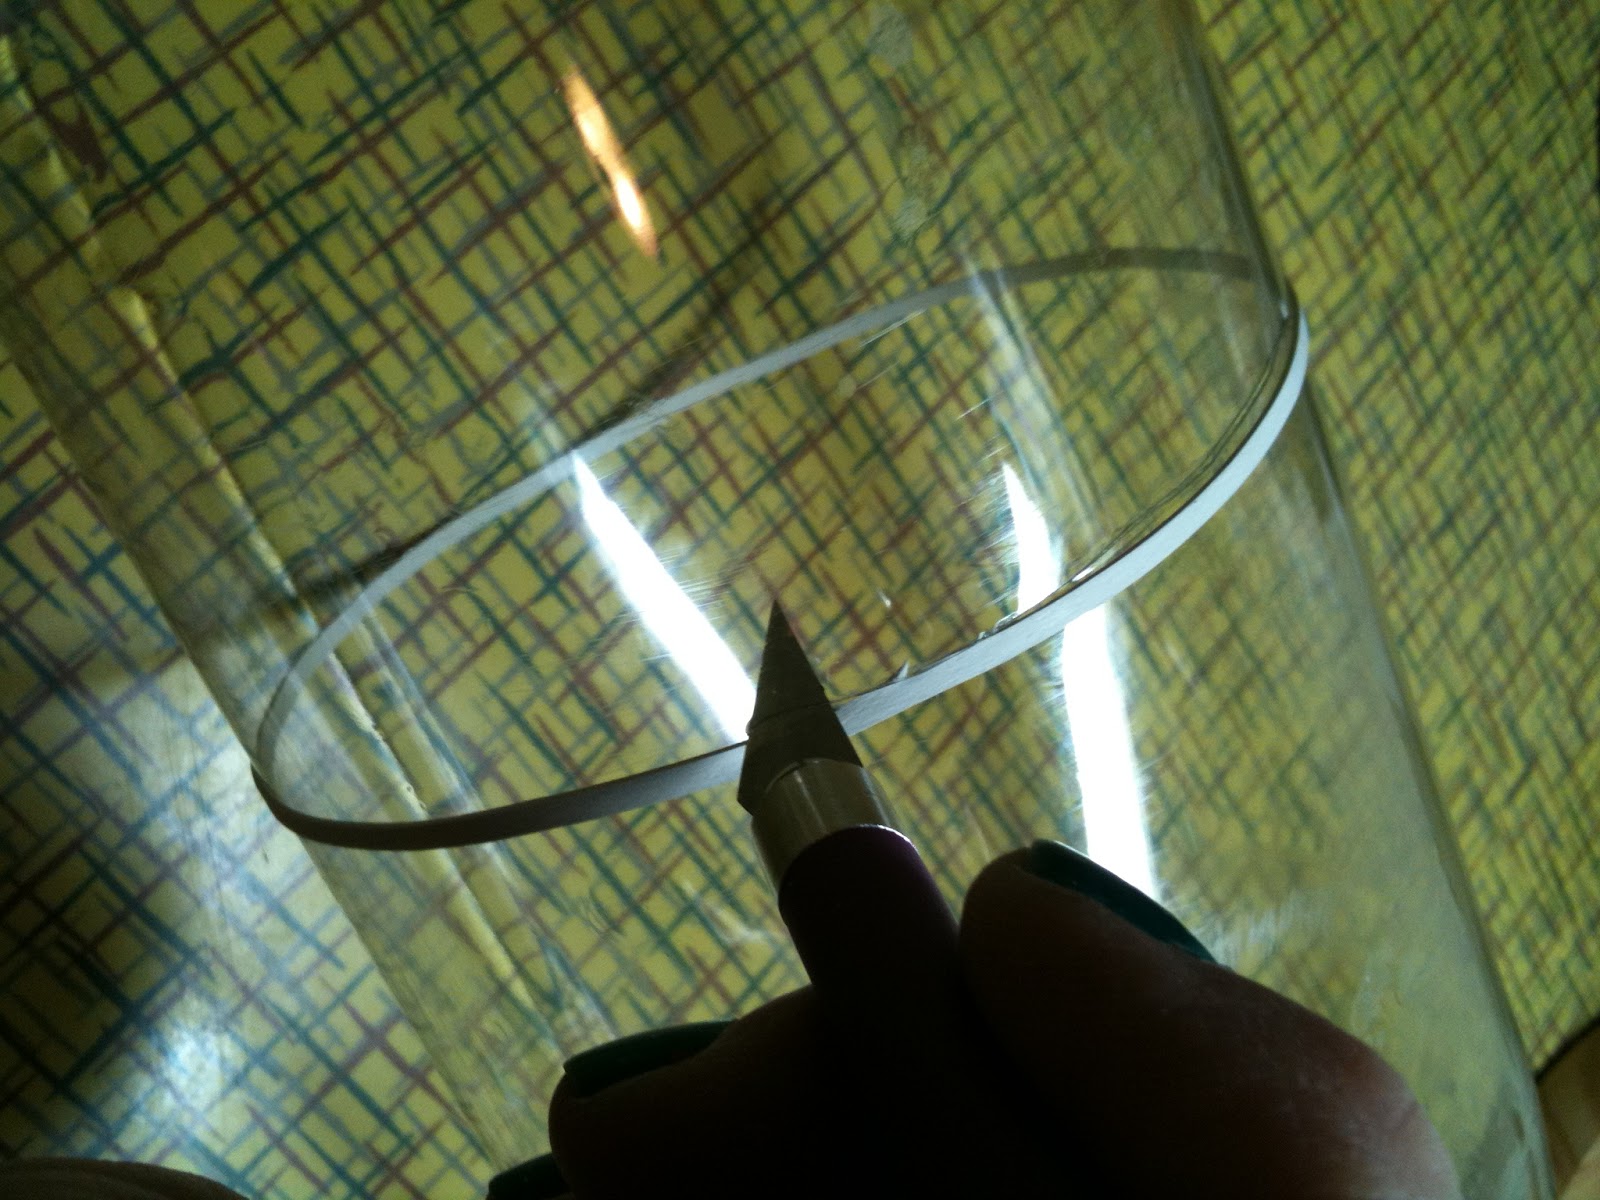
 I cut the bottle with a craft knife.
 I added stripes on the lid with a permanent marker, then went through my junk drawer 
to find buttons and objects I could glue or wire to the top.
 The wire went through the inside of the lid, up through the buttons 
and then back through to the inside of the lid.
 After bringing the wires together I twisted them and snipped them off.
 Next, I decided it needed a tassel, so I used my large Pattiewack Tassel Tool and 
black skinny ribbon to wind around the 2-inch section of the tool.
 I added a knotted loop at the top of the tassel and 
brought the ends down to make the hanger.
 Then I threaded a ribbon through the slot in the tool and 
tied a knot to make the neck of the tassel.
 All that was left was cutting off the bottom of the tassel
and slipping it off the tool.
 Two beads slipped over the hanger loop added just enough embellishment, I think.
 Scott gave me this wiring thingy and I glued one on the top to finish it nicely.
And there you have it, my DIY Cupcake Keeper for 
my delicious Halloween cup cake!