Friday, November 26, 2010

Pompom Jacket

It's time to think about Holiday Gifts and Events, 
and here's an idea that any girlie girl will love to give or receive.  

I made tons of pompoms, tassels and rosettes with the PattieWack Pompom Tool and the PattieWack Tassel Tool, then I sewed them to this adorable crochet jacket.  

The leaves are cut from felt and I added wooden beads to add more texture and interest for an adorable addition to your fave jeans or a little chocolate skirt for any special occasion.


Supplies:


Tools needed: 
Large upholstery needle


Supplies needed:
Aunt Lydia’s Fashion Crochet Thread, Size 3, 0775 Warm Rose

Red Heart Easy Tweed, 6674 Raspberry

Red Heart Super Saver 0966 Cherry Chip

7 – 3/4” Wooden Beads

12 – 2” Brown Felt Leaves, embroidered with Warm Rose


Warm Rose Rosette Steps:

  1. Wind both warm rose thread around the tassel tool on the 1-1/4”” step, 30 times.
  2. Bind the top of the rosette with 6” of yarn.
  3. Cut to loops and pull the rosette off the tool.
  4. Spread the cut loops around to create a flat rosette. 
  5. Tie a bead to the center of the rosette with additional yarn.
  6. Repeat steps to create 3 rosettes.  Lay aside.


1-1/2” Raspberry Tweed Pompoms:

Make 5 Lancelot pompoms, on the 1-1/2” step of the pompom tool, winding 30 times and tying with 6” of yarn.  Lay aside.


1” Raspberry Tweed Pompoms:

Make 10 Raspberry pompoms, on the 1” step of the pompom tool, winding 20 times and tying with 6” of yarn.  Lay aside.


1-1/2” Cherry Chip Pompoms:

Make 10 Cherry Chip pompoms, on the 1-1/2” step of the pompom tool, winding 40 times and tying with 6” of yarn.  Lay aside.


1-3/4” Raspberry Tweed Tassels:

Make 2 tassels, on the 1-3/4” step of the tassel tool, winding 15 times and tying the tops with 10” of yarn. Tie the tassel to the ends of the ties on the jacket.


Final Steps:

  1. Arrange all of the pompoms, leaves, and rosettes in the desired place on the front of jacket.  (Use photo for suggested placement.)  Pin into place.

Sew all of the pieces to the garment with an upholstery needle to complete.

Monday, November 22, 2010

Pompom Turkey Favor

 When I think of Thanksgiving, I think of Scott and I waking up and
having a lazy breakfast before the dinner prep begins.  
So, I thought a cute little pompom turkey sitting on top of upside
down coffee cups at our table would be just the 
perfect favor to start the day!
Here's my crafty supplies: 
yarn, Aleene's Tacky Glue, polka dot papers, and a PattieWack Pompom Tool.
 First Step:
Make a pompom
 Second Step:
Cut out 3 tail feathers and 1 circle.
Third Step:
Fan-fold the tail feathers and glue the papers into place to make your cute pompom turkey.
Happy Thanksgiving!
Pattiewack

Sunday, November 21, 2010

DIY Thanksgiving


I absolutely fell in love with this idea when I saw it on the Better Homes & Gardens site. It is a block of floral foam cut into a sphere, and soaked in water. Then it is covered with orange mums with the stems cut really short and stuck into the foam. There is a twig in the top with leaves to make it look even more realistic. Sitting it on top of a cake plate is simply luscious, and perfect for a table setting. Oh, a single mum in an egg cup at each place setting would be sooo cute. I can't wait to try this. I just hope I can find miniature mums. Love it!

Consignment Store Finds

Most of my life, I've worn hand-me-downs, so I guess it's only natural that I love consignment shops.  Daddy was a preacher in dirt-poor places around Oklahoma, and I remember mom and I going to the thrift stores on a regular basis to see what was new.  We sewed most everything I wore,  but you never knew what was waiting there at the thrift store, like this fabulous suede cape.  And the little fur pompom thingie just made me squeeeel with delight when I saw it. 

 And I couldn't resist this trendy leather bag covered in huge studs.  It zips along the bottom to make it roomier if you need it.  And I need it.
The hooded sweater duster was perfect, too.  I'm pretty excited about finding this new-to-me consignment boutique down in the Tower District in Fresno.
One of my favorite things about it was that it's an old pharmacy and they kept lots of the old store fixtures and signs.  The outside is very kitschy cool. 

Now all I need is some cute boots!
 

Saturday, November 20, 2010

Belle Armoire Magazine

I am so excited to say I was published twice in the November/December issue of Belle Armoire!

 This design was inspired by the late Alexander McQueen's amazing use of mirror image prints.  I developed a technique where you paint one-half of the garment and then fold the unpainted side over to the painted side, unfold it and voila!  This is so much fun, it's easy, and has a huge wow factor.

This couture ensemble was designed by me for a CHA trade show, using glue, and limited sewing.  All the beads and ruffles and sequins and feathers a glued to the lace blouse and skirt.  I actually too 2 skirts and altered them to form one tulip skirt.  You have to pick it up on the newstand and check it out!

From Belle Armoire's website today:

"Be delighted by the November/December 2010 issue of Belle Armoire. Heidi Selig’s genius works of clothing for kids is featured in the Designer Collection profile. Megan Morris saved up scraps from making purses to create the stunning scrap dress featured on this issue’s cover. Learn about fusing metals with Ruth Rae’s tutorial, which showcases beautiful pieces using the technique. See the results of the Little Black Dress challenge, where we challenged artists to make a little black dress that fit their personalities. See the beautiful embroidery work of Debbie Bone-Harris, in a jacket and ensemble that’s sure to inspire. Regardless of the type of art to wear you love, you’re bound to find it within the pages of the November/December 2010 issue of Belle Armoire."
What an honor to be included in the fascinating line-up of designer's in this incredible magazine!

Haute Handbags Magazine

I'm published in the latest Haute Handbags Magazine!

 I got a fabulous surprise last night when we went to Barnes & Noble 
after dinner to peruse the latest magazines.  
There I was in HAUTE HANDBAGS, baybeeeee!

The purse I designed was with a painted clutch with 4 rings glued to the closure for 
the snazziest evening bag ever, if I do say so.
woot woot!

Of course, this one of my fave magazines on the newstand, and it's 
published by Stampington & Company, 
which is responsible for several amazing magazines.
Fun, fun, fun!

Wednesday, November 17, 2010

Felted Pompom Purse

.
Pompoms on this felted purse made me think of fall 
when I sewed this collage of felt hearts and designs on the sides of the bag. 
You could do this on any bag with a soft side. 

Here's the yarn and supplies you'll need and the steps:
MODA DEA™ Dream: 1 Ball No. 3796 Aspen
MODA DEA™ Gleam: 1 Ball No. 3012 Black Pearl
MODA DEA™ Zing: 1 Ball No. 3689 Midnight

Tools:
Large size Pattiewack™ Pompom Tool
Large size Pattiewack™ Tassel Tool
Large Upholstery Needle
6 Coordinating Beads

Steps:
  1. Wind the yarn 50 times on the 3” step of the pompom tool.
  2. Tie the center of the pompom tightly with 18” length of yarn.
  3. Cut the pompom away from the tool.
  4. Repeat the pompom steps to create 3 pompoms of each color of yarn.
  5. Sew the pompoms to the top of the bag with a large upholstery needle.
  6. Wind all 3 yarns 5 times each on the 3” step of the tassel tool.
  7. Tie the top of the tassel with a 24” length of yarn.  (Do not trim the tassel ties, so you can use them to sew the tassel to the purse later.)
  8. Bind the neck of the tassel with a 10” length of yarn.
  9. Cut the bottom of the tassel and slide it off of the tool. 
  10. Thread the beads onto the tassel ties at the top of the tassel.
  11. Tie the beaded tassel to the handle of the purse, using the tassel ties.

    Tuesday, November 16, 2010

    High-Heeled Pilgrim Party Shoe Favors

    High-heeled Shoes and Thanksgiving?
    Of course!

    Who wouldn't want a darling Pilgrim Shoe Favor sitting at their place setting at your Thanksgiving dinner?

    I have this Pattiewack Pattern Pak that has a great pattern for a paper shoe that I have been dying to make into a Pilgrim Shoe for a long time, and finally got around to it this year.


     I simply traced the pattern from the original and cut it out.
     I found an black file folder that was white on the inside, and I thought it was perfect for this, so I traced around the pattern onto the paper, and cut it out.
     The lines on the inside of the shoe are the fold lines, so I grabbed my scoring tool and scored all of the lines.
     Next, I folded all of the score lines inward, and the shoe magically started taking shape.
     My little Tacky Glue was perfect for adhering all of the tabs on my Pilgrim Shoe.
     The pattern has a cute little flower on the toe, but I cut it into a square so I could make it into a buckle.
     And it wouldn't be a Pilgrim Shoe without a big gold buckle!
    I cut one out of gold paper and glued it on to finish it.
    I love how it turned out. 
    For the pattern, go to PattieWack.com and make one for everyone!

    Craft on! Click here for today's daily giveaway!

    Saturday, November 13, 2010

    My Studio

    My craft room is beckoning me into it today, but I must do housework, errands, and running around.
      
    So, I did the next best thing... took pictures with my Hipstamatic iPhone app just for fun before I run out the door.  I am like most crafters, sewers, artists, because I am a collector of anything I think I can make into something else, if I only had MORE time! 

    I found some fabulous World War I canvas spats that I thought I could use at work, but they were out of season for the creative objective.  
    So, they are laying on my table waiting for me to turn them into fashion art.
    I made a polka dotted wall organizer several years ago, and it is slowly filling up with odd and wonderful things, like this antique doll pincushion.  Scary fun.

    My beloved scissors that my sister-in-law Sandy gave me, are one of my most prized tools.
    Just try using them for anything but fabric... grrrrrrrrr.
    I've been working on jewelry assemblage lately, so my collection of keys, junk, broken jewelry, and beads has taken over.

    I've had this jar and this bag of buttons forever, and I have big plans to pour the buttons into the jar.

    I can't throw anything away, obviously.

    This was one of those days that I went on a 'color binge' and bought all things turquoise at the Yoshi Now store in downtown Fresno.  It's pretty much my Saturday hangout.

    I found this cute cat last weekend, and it's sitting there waiting for me to glue it to something.

    My kewpie doll is the keeper of my giant needles.
     I threw my pincushion in a teacup that my friend Kelly Phelps painted with a cute face.
    My glue is always ready for any craft emergency, since I keep them on their heads, upside down.  
    And my snowman scissors (a gift from Shirley, my mom-in-law)  are also at the ready.
    Okay, maybe I'll get back here to craft tomorrow...
    but for now, I've gotta dash!

    Saturday, November 6, 2010

    DIY Thanksgiving Decorations

    Pilgrim Hat Centerpiece, Candles and Party Favors

    If you can cut & glue, this is the perfect project for your Thanksgiving dinner decorations.

    The base of each one of the pilgrim hats is a simple clay pot and the hat brims are circles of foam core boards that are cut to fit perfectly on the rim of the pots when glued on.  
    I popped a pot of white daisy mums in the big one for a centerpiece.
    The candles are pushed into styrofoam and then tufts of tulle are poked around them.
    The favors are circles of tulle filled with candy corn and tie up in a bow.
    Super simple, and simple fun!


    Here's what you'll need:
    Clay Pots
    Black Spray Paint
    Black foam board
    Pencil
    Compass
    Craft knife
    Metallic Silver Scrapbook Paper
    Grey Felt

    Steps for the centerpiece:

    1. Spray paint the clay pot black, let dry completely.
    2. Turn the pot upside down on foam board.  Trace around the rim, then set aside.  Use a compass to draw a line 4 inches from the traced circle.
    3. Cut around the outside circle with a craft knife, being careful to cut a nice, smooth edge.
    4. Cut out the inside circle, 1/2-inch smaller than the traced line.  If you plan to use the pot as a cupcake tray instead of a flowerpot, don’t cut out the center hole.
    5. Glue the brim to the top of the pot.
    6. Cut out a buckle from silver scrapbook paper.
    7. Cut grey felt and thread through the buckle and glue around the rim of the pot.

    Make the other pots the same way, only smaller.
    Have fun!

    Thursday, November 4, 2010

    Altered Crochet Scarf

    Not Quite Your Grandma's Doily

    Please don't hate me because I can't crochet or knit.  And Puhlease don't hate me because I cut up a bunch of doilies and a knitted scarf to make this new Altered Scarf.

    I promise they were discarded and then found at the thrift store by me.  They were certainly a treasure to me when I found them, as I had this design in mind which worked out beautifully with the loose scarf you see in the back, and then layered with the pineapple design doily and then the floral doily on top.  I dyed the pieces individually and then sewed them all together.

    I was thrilled to see it featured in Altered Couture along with the Steampunk Hat as seen in the previous post.  It's one of my fave magazines!

    Wednesday, November 3, 2010

    Amy Sedaris - Crafts for Poor People

    Simple Times: Crafts for Poor People
    By Amy Sedaris
    Written by Amy Sedaris and Paul Dinello

    It just doesn't get any better than this.  I've  been a fan of Amy Sedaris forever!  And this new book is right up my alley.  As soon as I have an hour to run across town, I'll be picking up a copy at Barnes & Noble.  

    According to her website:  "Demonstrating that crafting is one of life’s more pleasurable and constructive leisure activities, Sedaris shows that anyone with a couple of hours to kill and access to pipe cleaners can join the elite society of crafters."

    She cracks me up!  Plus, her hysterical humor that pokes fun comes pretty close to real life at times.  I will certainly be sending her a Pattiewack Pompom Tool, lickety-split!

    If you love Amy, you'll love the interview on ETSY where you can get a preview of the book, before you peel out of the driveway to grab a copy.


    Tuesday, November 2, 2010

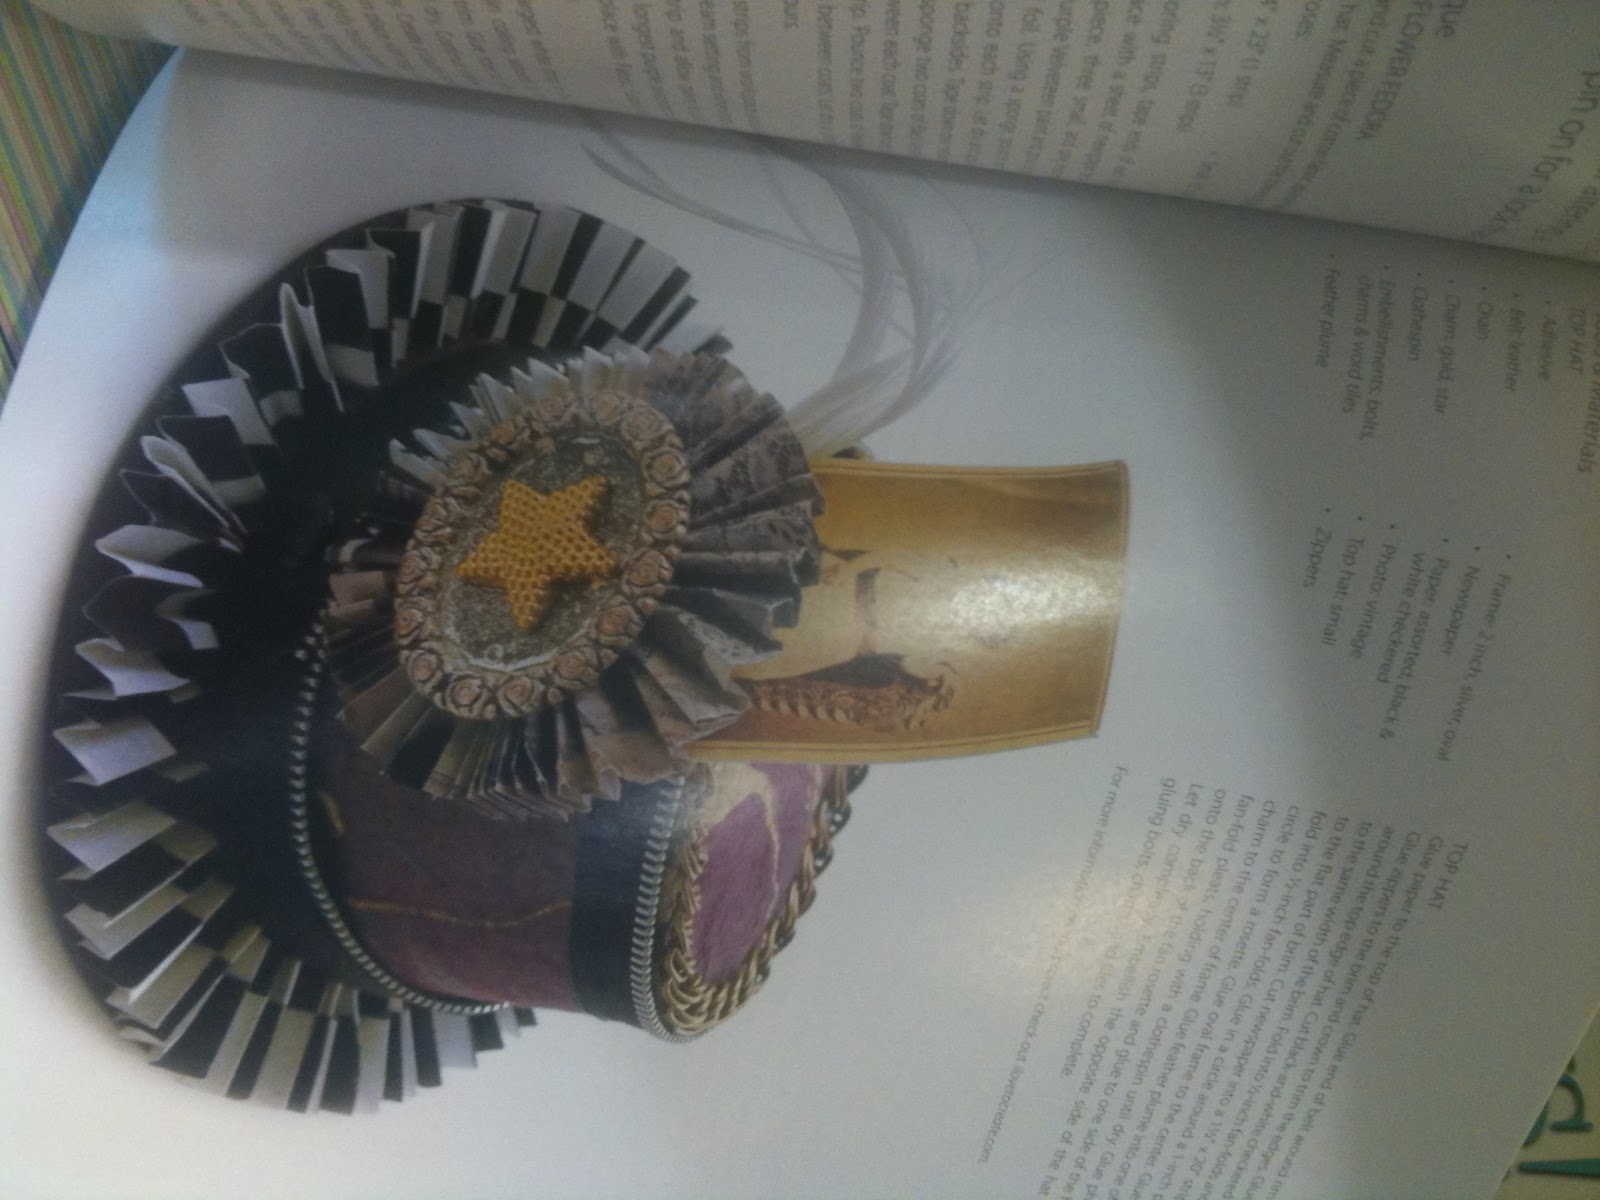
    Steampunk Altered Couture

    Steampunk is always one of my favorite things to do as far as DIY fashion, jewelry, or collage.  I made this steampunk hat to coordinate with a paper dress for a tradeshow last year.   The Editor from the magazine, Altered Couture picked it up for this issue.
     
    I was shocked recently when I was browsing the magazines at Barnes & Noble and saw my hat.  It realllly takes a long time for things to finally get published, but it's so cool when you open up a magazine, and there you are.
    I'm crazy for Altered Couture, and I'm tickled to death to be featured in it!  
    Of course, my crazy dude had to monkey around with it before it shipped out to the editor.  I can't have anything lying around without him grabbing it and putting on a show for me.
    The aftermath of creativity.....